Guide
Image enhancement
Correct exposure, white balance and clarity on a property photo.
Image enhancement fixes the things that go wrong when a room is photographed quickly: underexposed corners, a colour cast from mixed daylight and tungsten, flat contrast, blown windows. It is the tool to run over a whole shoot before anything is published — real-estate listings, but equally hotel and short-let inventory, e-commerce room sets, and any archive of older photography that needs to look consistent.
It corrects an existing photo. It does not change the room, add furniture, or increase resolution.
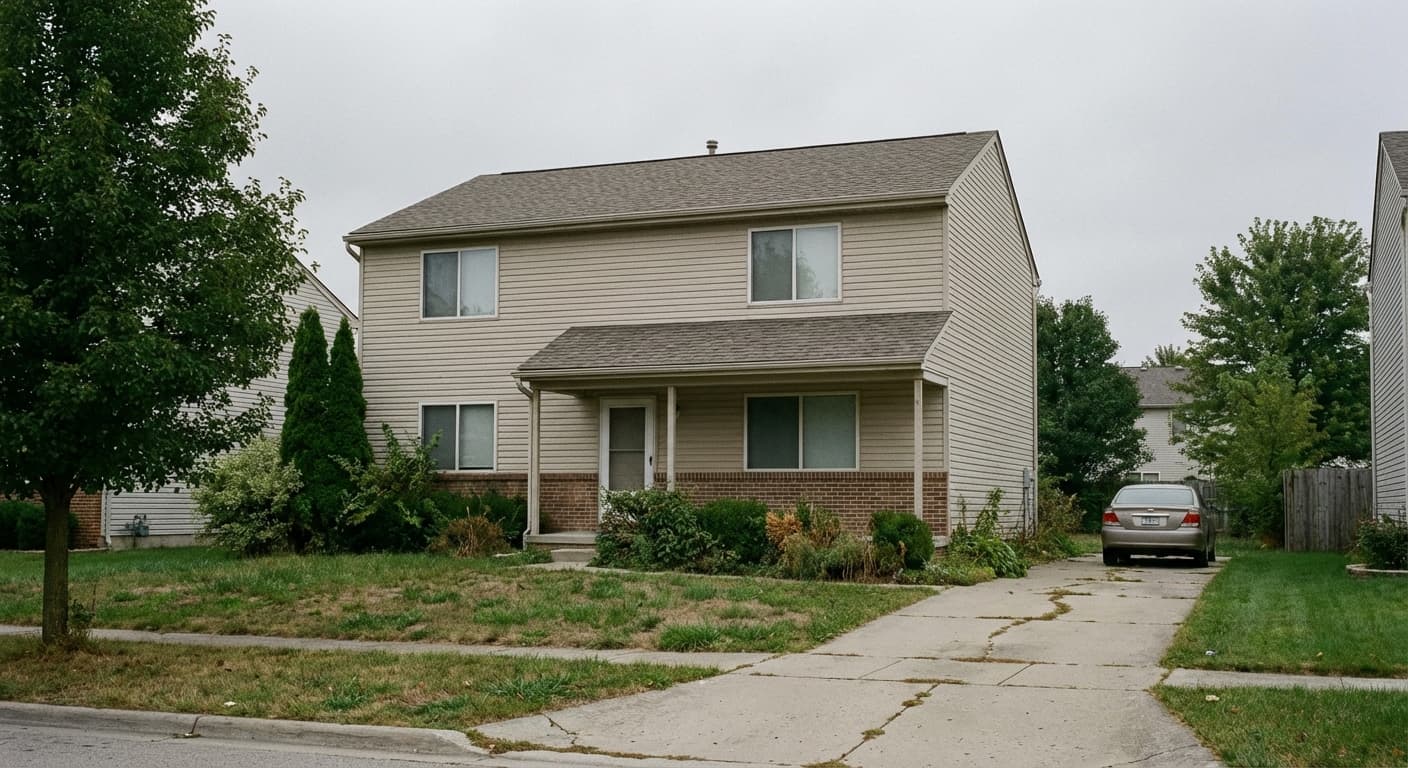
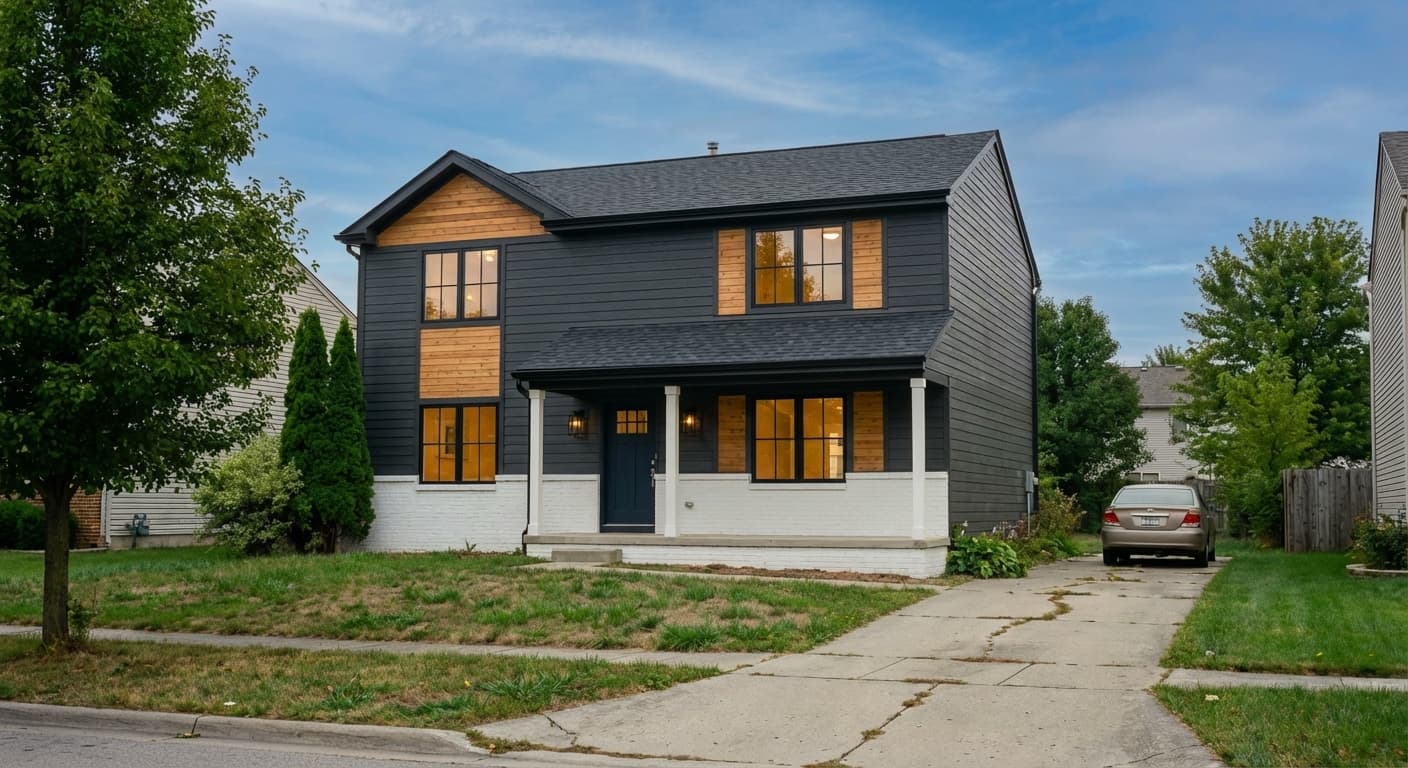
Options
| Option | Type | Values | Default | Required | Description |
|---|---|---|---|---|---|
intensity | string | lightmediumheavy | medium | optional | How far to push the correction. medium reads as professionally processed. |
Example
{
  "tool": "image-enhancement",
  "image_url": "https://example.com/dim-bedroom.jpg",
  "options": {
    "intensity": "medium"
  }
}
Choosing an intensity
intensity is the only option, and medium is the default because it is right most of the
time.
light— a gentle lift. Use it on photography that is already good, or when a client's brand guidelines call for a natural look.medium— the default. Reads as professionally processed without looking obviously edited. This is the right choice for bulk runs.heavy— the strongest correction. Use it to rescue genuinely bad input: very dark interiors, heavy colour casts, phone photos taken in poor light. On an already-good photo it will look overdone.
If you are processing a whole shoot, run medium across it and re-run only the failures at
heavy — mixing intensities within one set of photos is what makes a listing look inconsistent.
Next steps
- Tools — every tool, what it costs, and the common options.
- Quickstart — send this request end to end.